nexus的安装与使用
介绍
nexus可以做apt,yum,docker等的私有仓库
安装
docker安装
mkdir /nexus/nexus-data
chown -R 200 /nexus/nexus-data
podman run -d -p 8081:8081 --privileged --name nexus -v /nexus/nexus-data:/nexus-data --ulimit nofile=65536:65536 sonatype/nexus3
docker-compose安装
version: "3.8"
services:
  nexus:
    image: sonatype/nexus3
    container_name: nexus
    restart: always
    ports:
      - 8081:8081
    volumes:
      - /nexus/nexus-data:/nexus-data
登录
账号是admin,密码在nexus-data/admin-password里
登陆后,需要进行设置。下面一步选择所有人可以连接 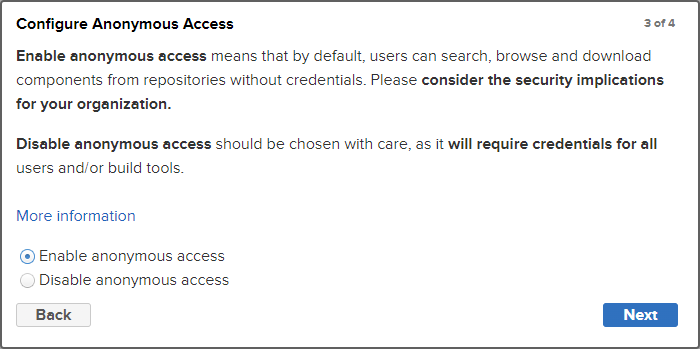
在nexus中,大部分的仓库都可以分为以下三种类型:
proxy,代理仓库,用来代理那些知名的镜像站。
hosted,宿主仓库,即本地仓库,可以用来存放自己的jar包、docker镜像等
group,可以将多个代理仓库或宿主仓库合并在一起,然后向外提供服务。
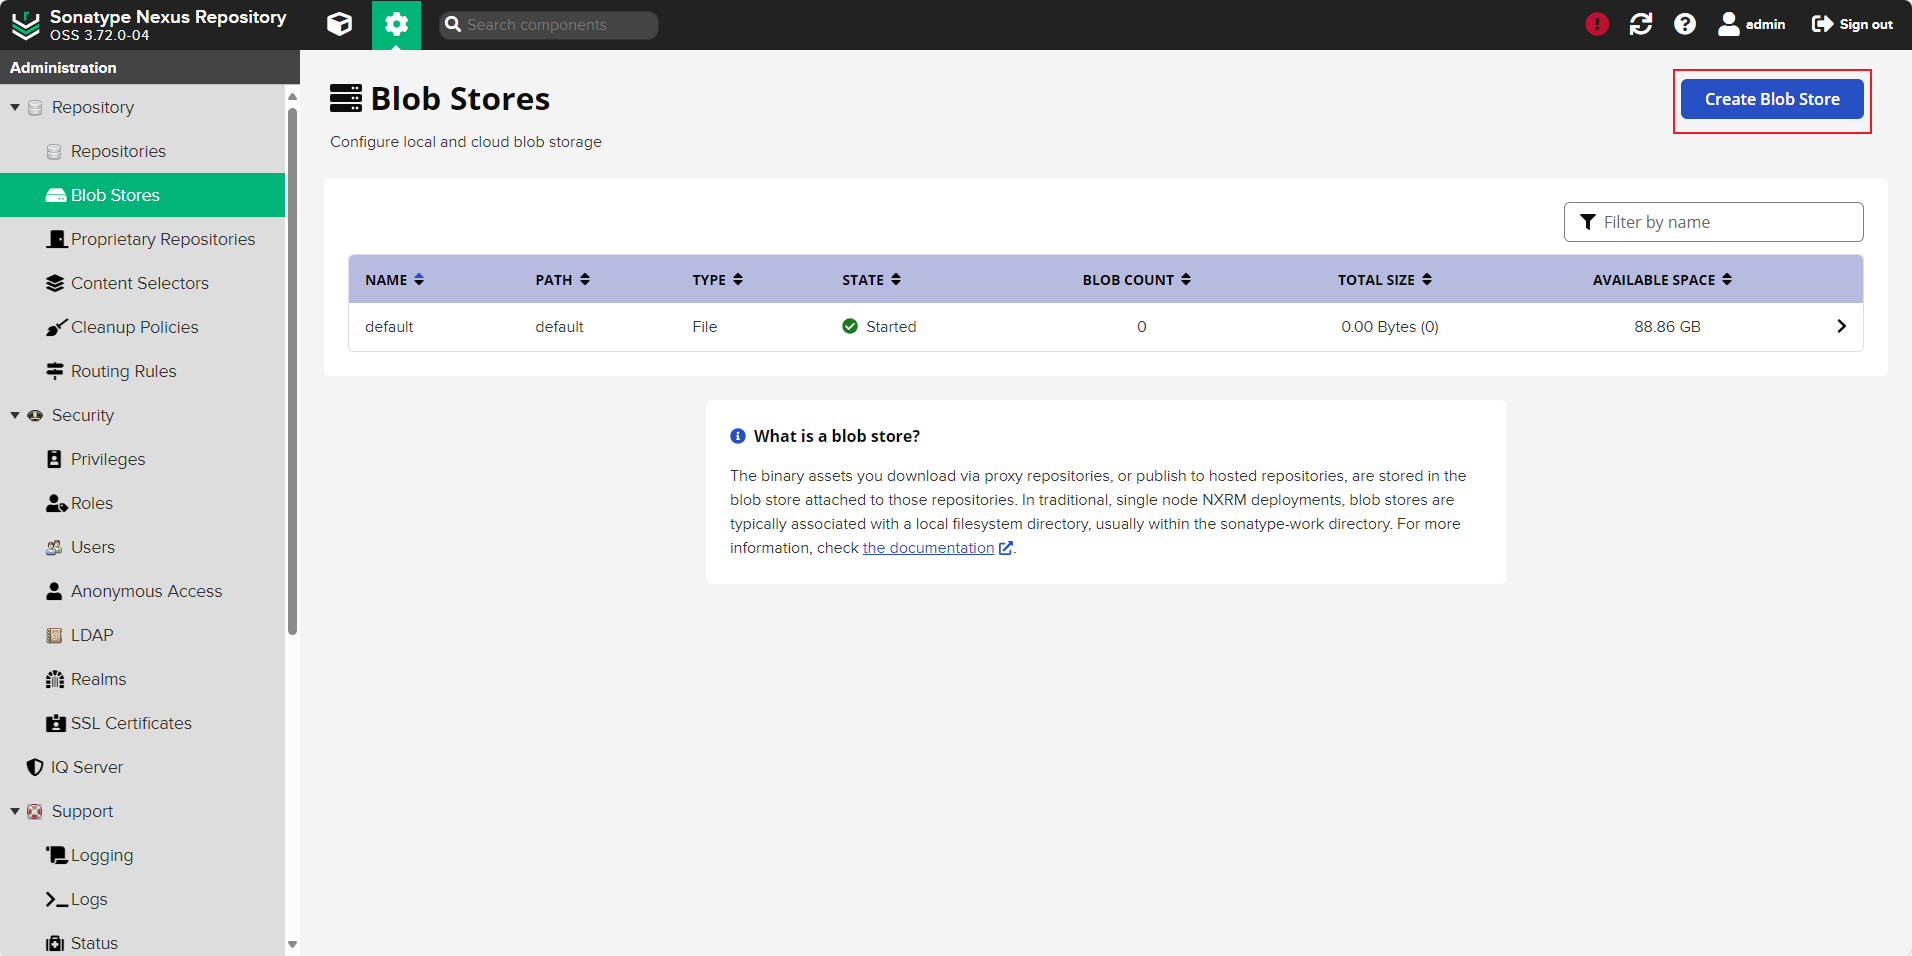
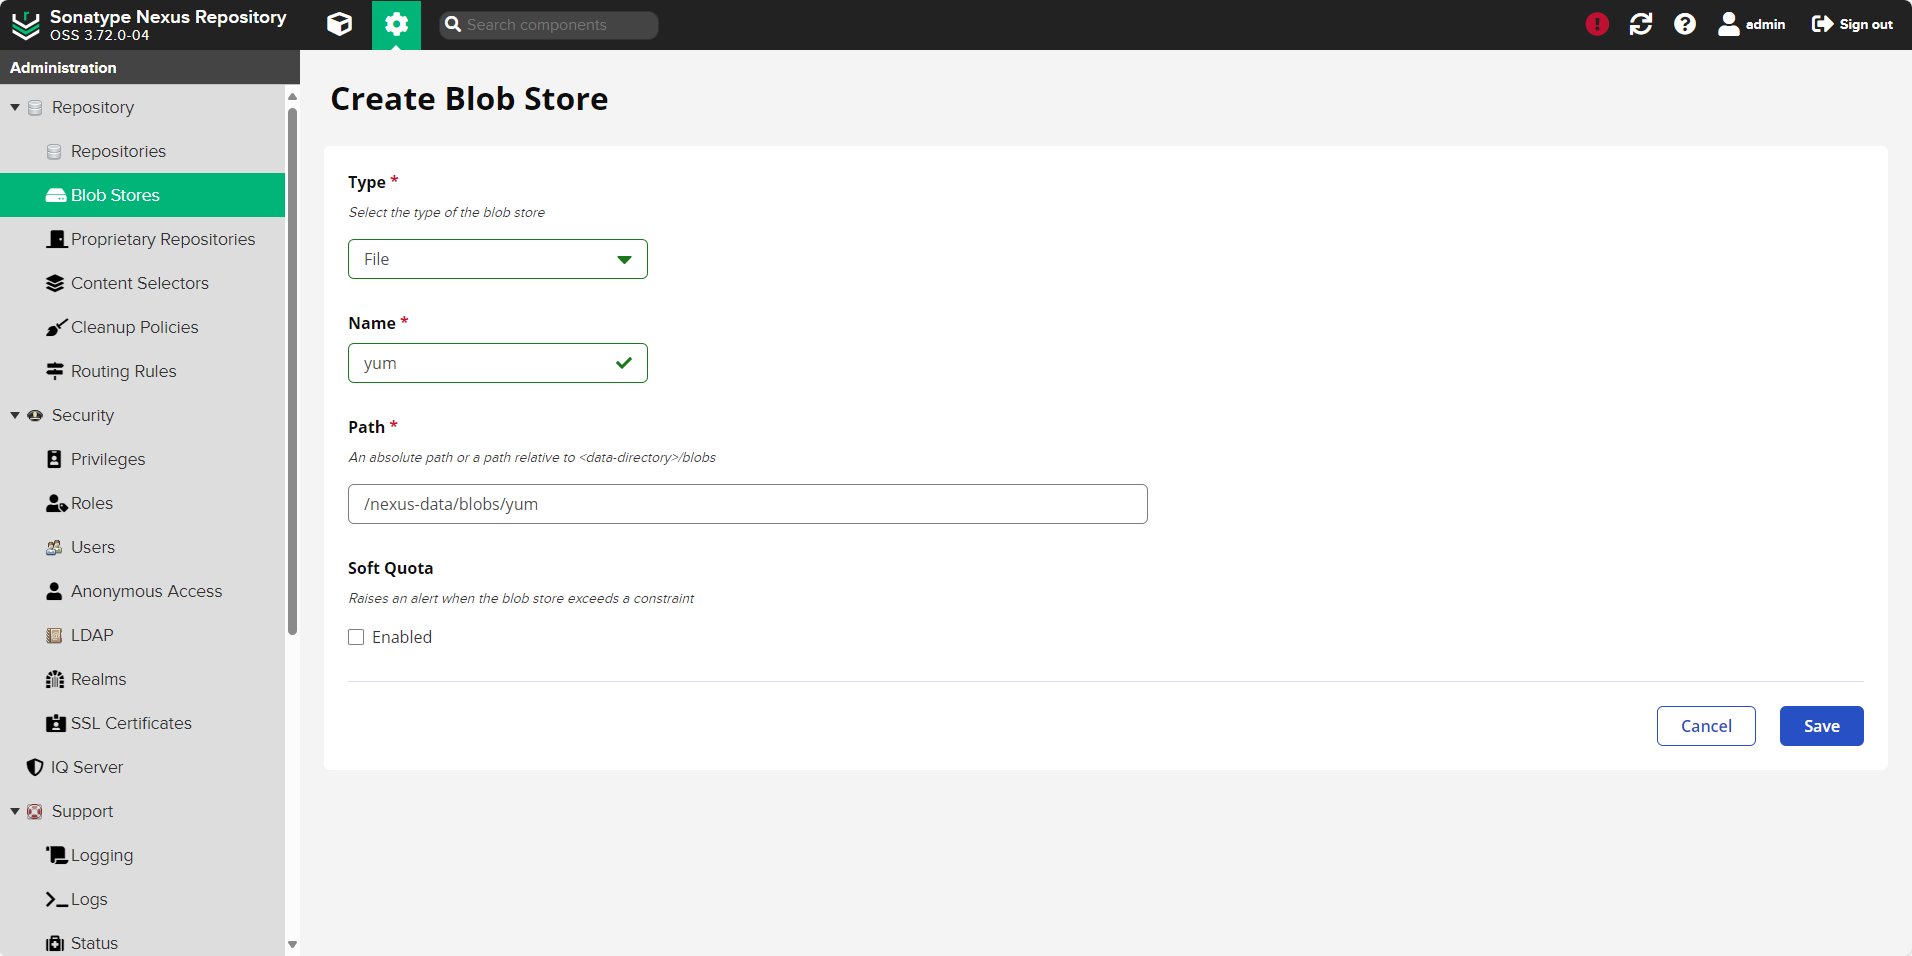
创建存储
例:创建一个yum和apt的存储 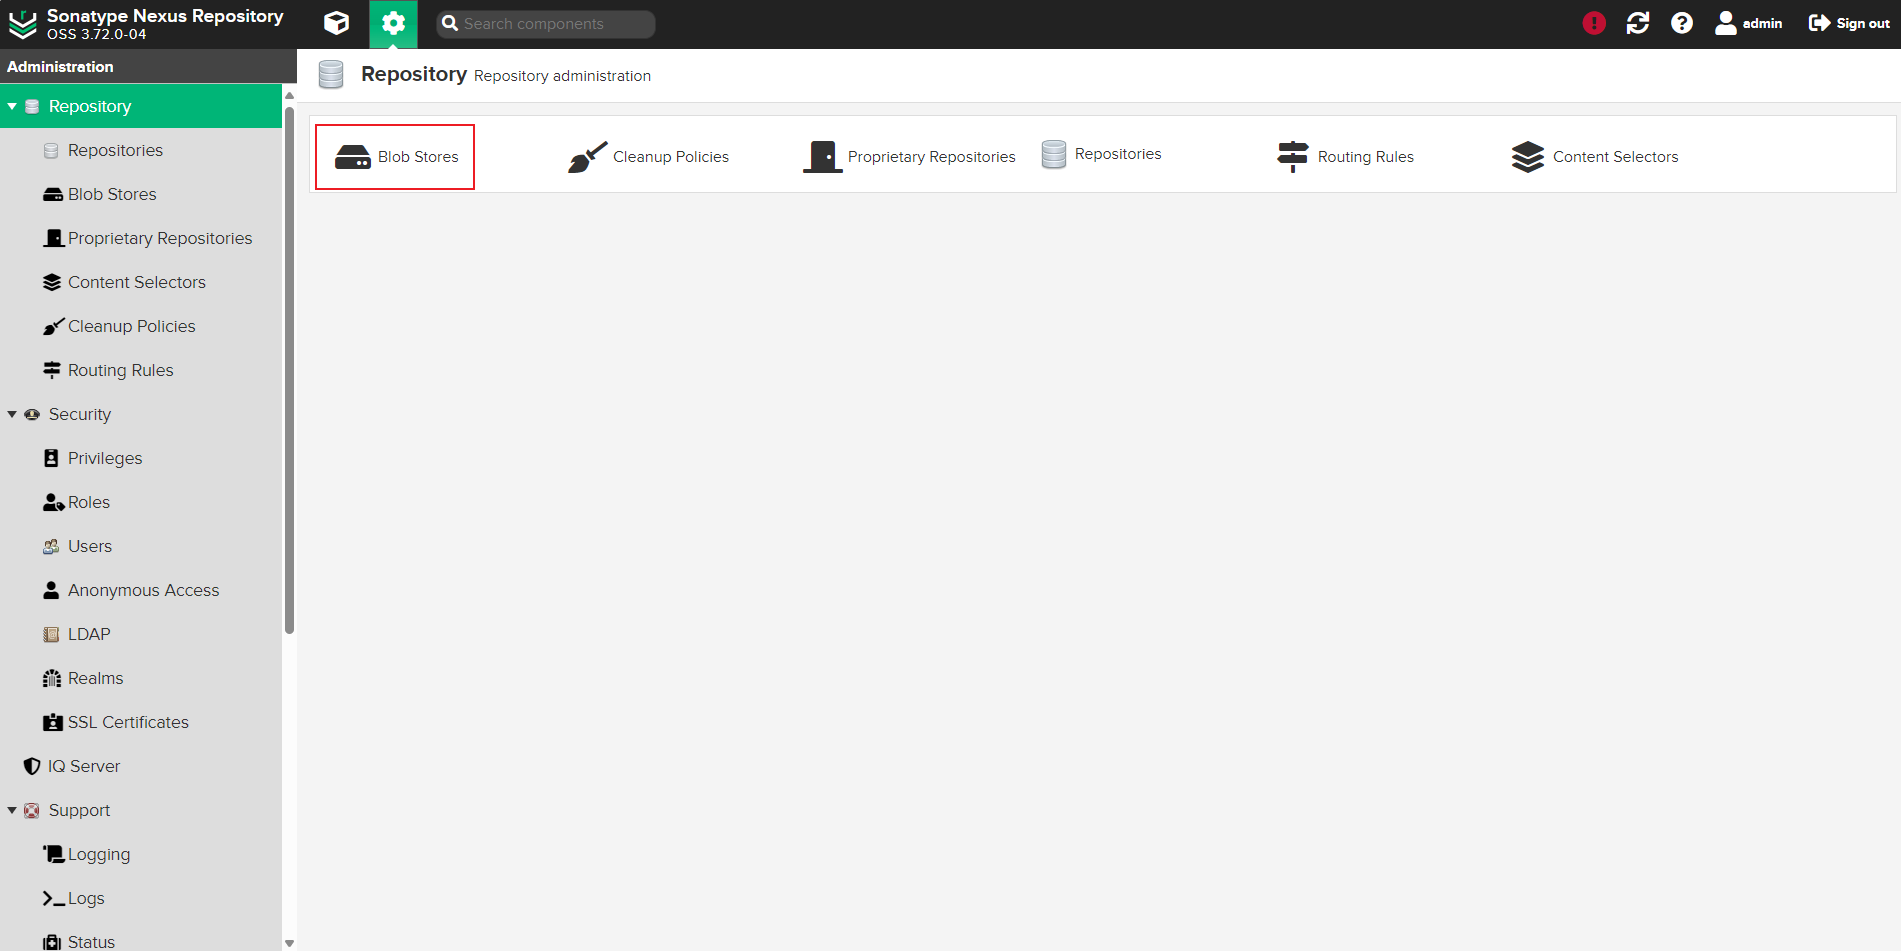
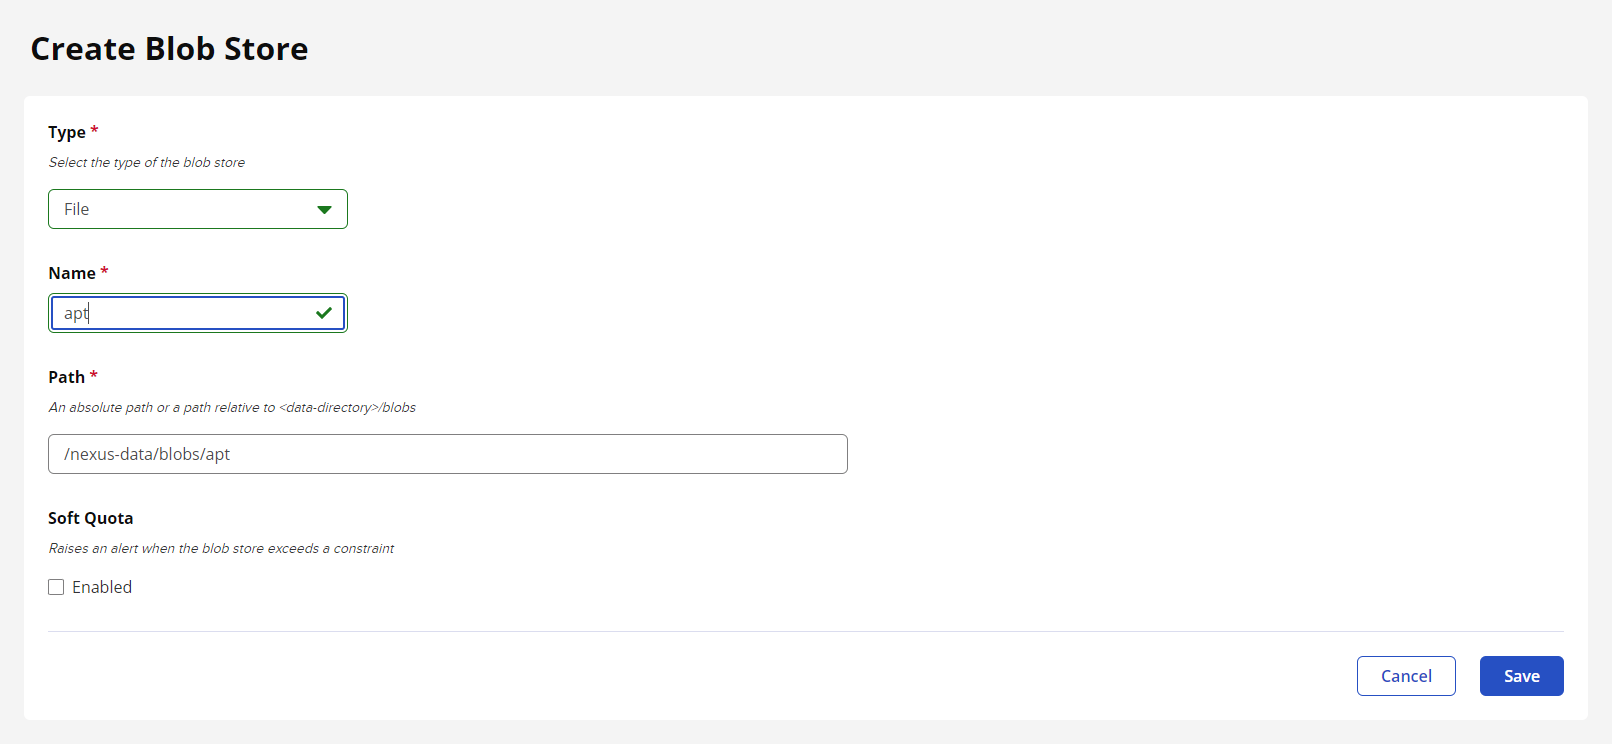
添加yum host仓库

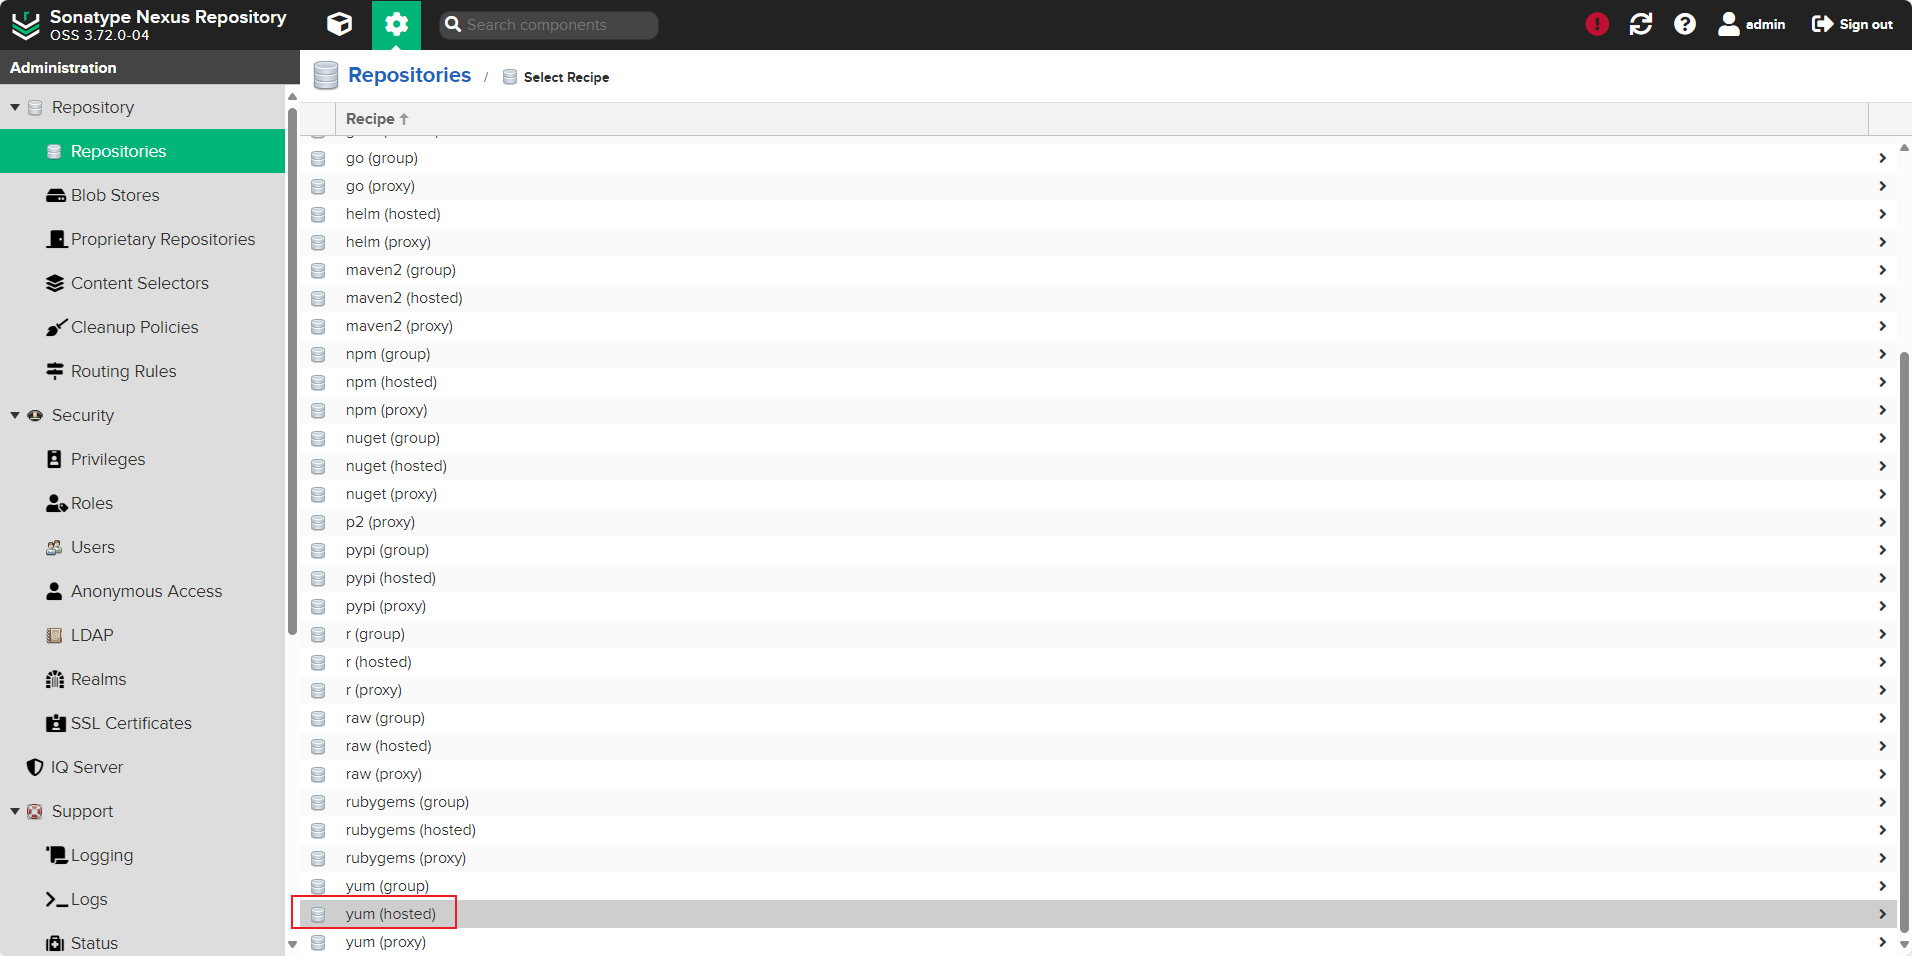 文件深度可以随意选,但是后续上传的文件格式要一致,勾选allow redeploy
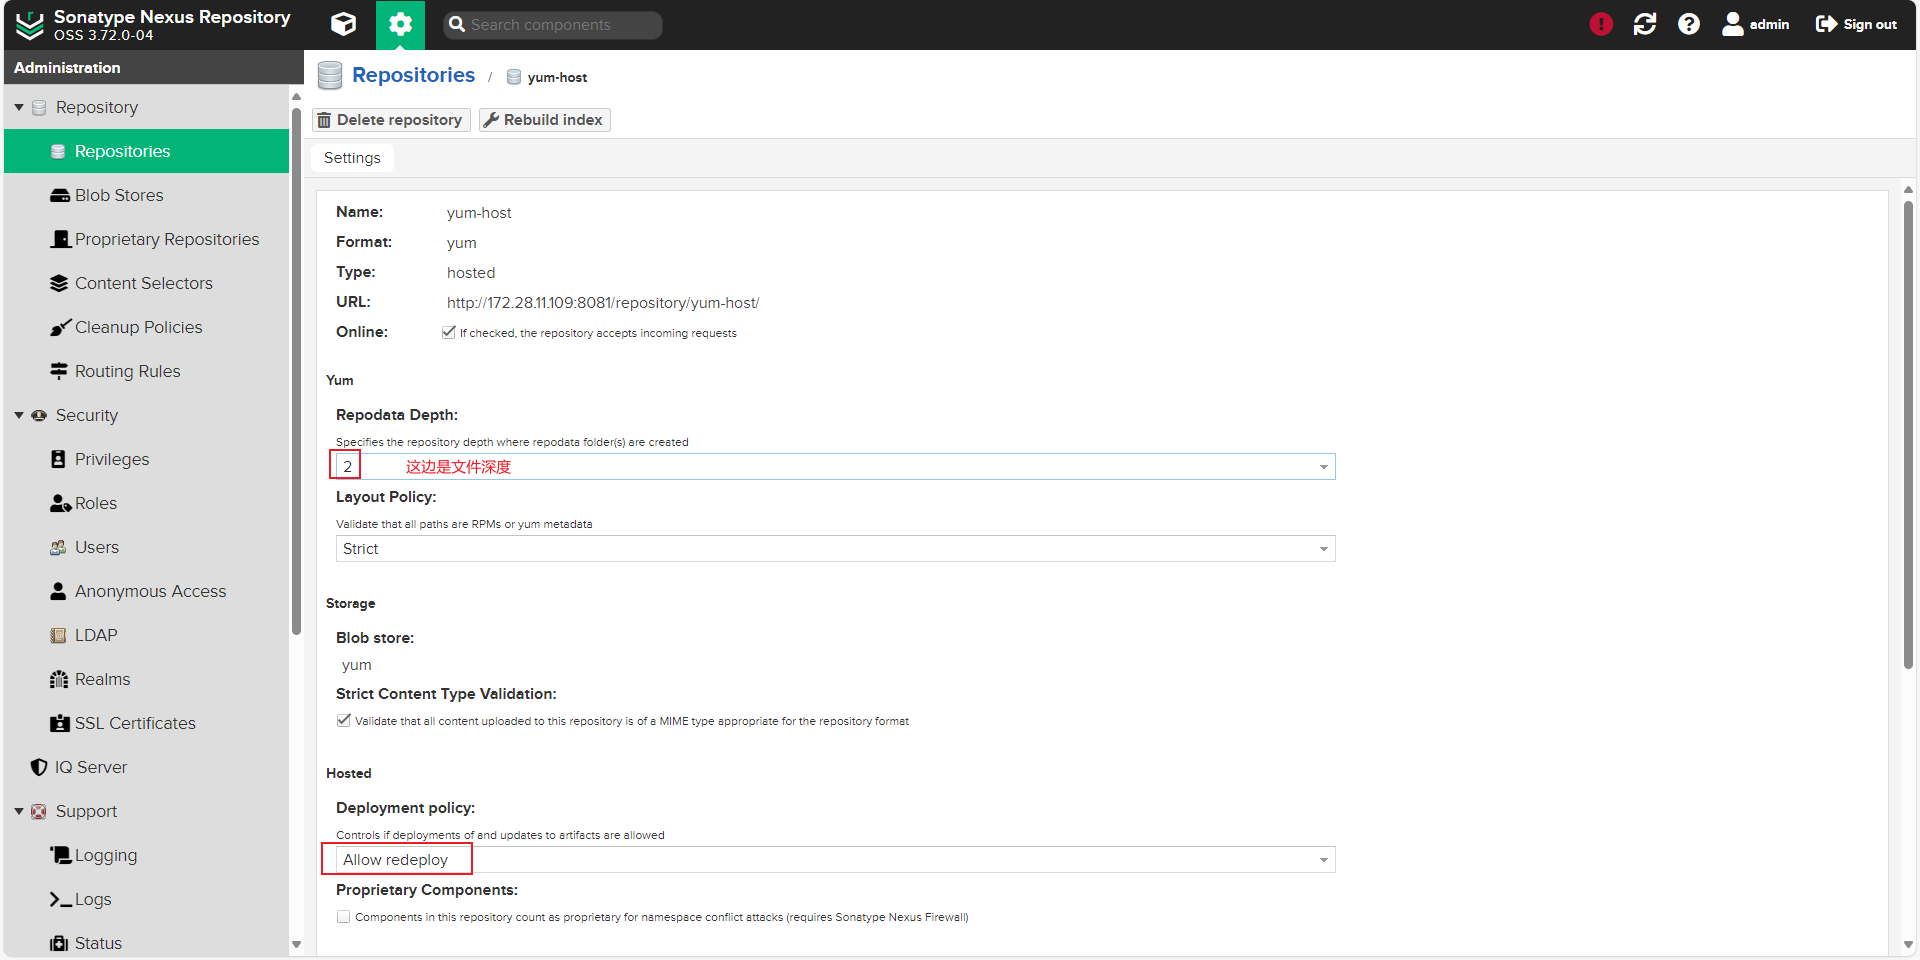
上传rpm文件到host仓库
 这里的文件深度就要跟之前填的保持一致,2层

以redhat为例修改yum源
Cd /etc/yum/pluginconf.d
Vi subscription-manager.conf
将enable=1改成0
Cd /etc/yum.repos.d/
Mv redhat.repo rehat.repo.bak
Vi nexus.repo
[nexus]
name=Nexus Yum Repository
baseurl=http://172.28.11.109:8081/repository/yum-host/
enabled=1
gpgcheck=0
执行yum clean all //清理缓存
yum makecache //建立元数据缓存
yum update
报错,这是因为缺少repomd.xml文件

可以用yum group来解决这个问题,yum group可以把多个proxy和host集合在一起,填yum源的时候只需要填group的地址就行
添加yum proxy仓库
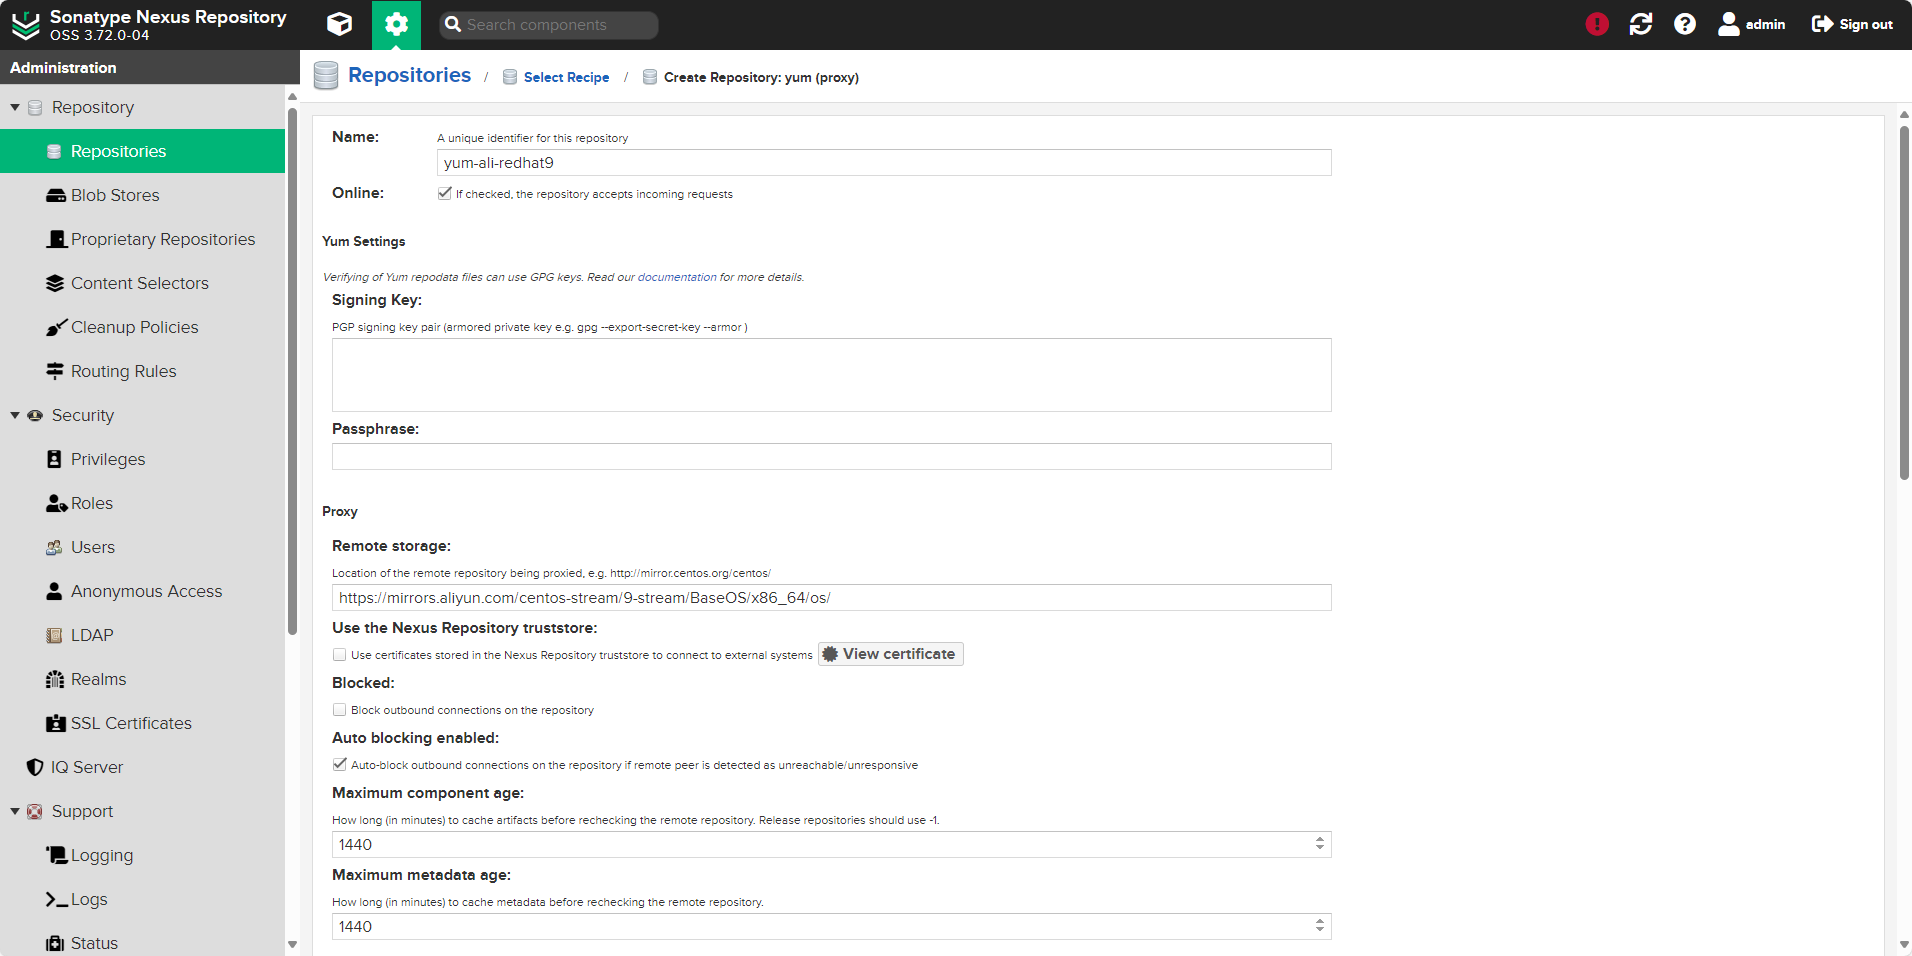
yum源地址:https://mirrors.aliyun.com/centos-stream/9-stream/BaseOS/x86_64/os/
修改源过程略
报错,只需要按提示加参数就行
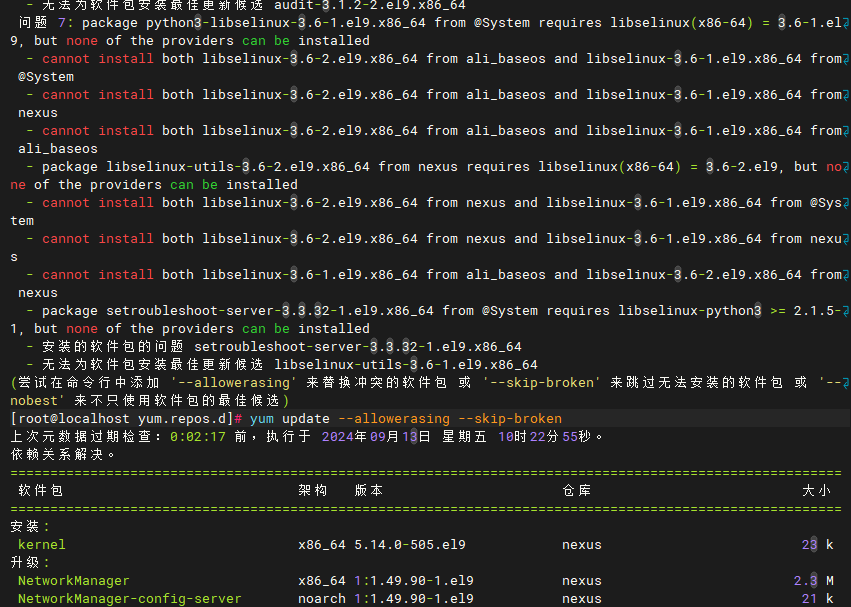
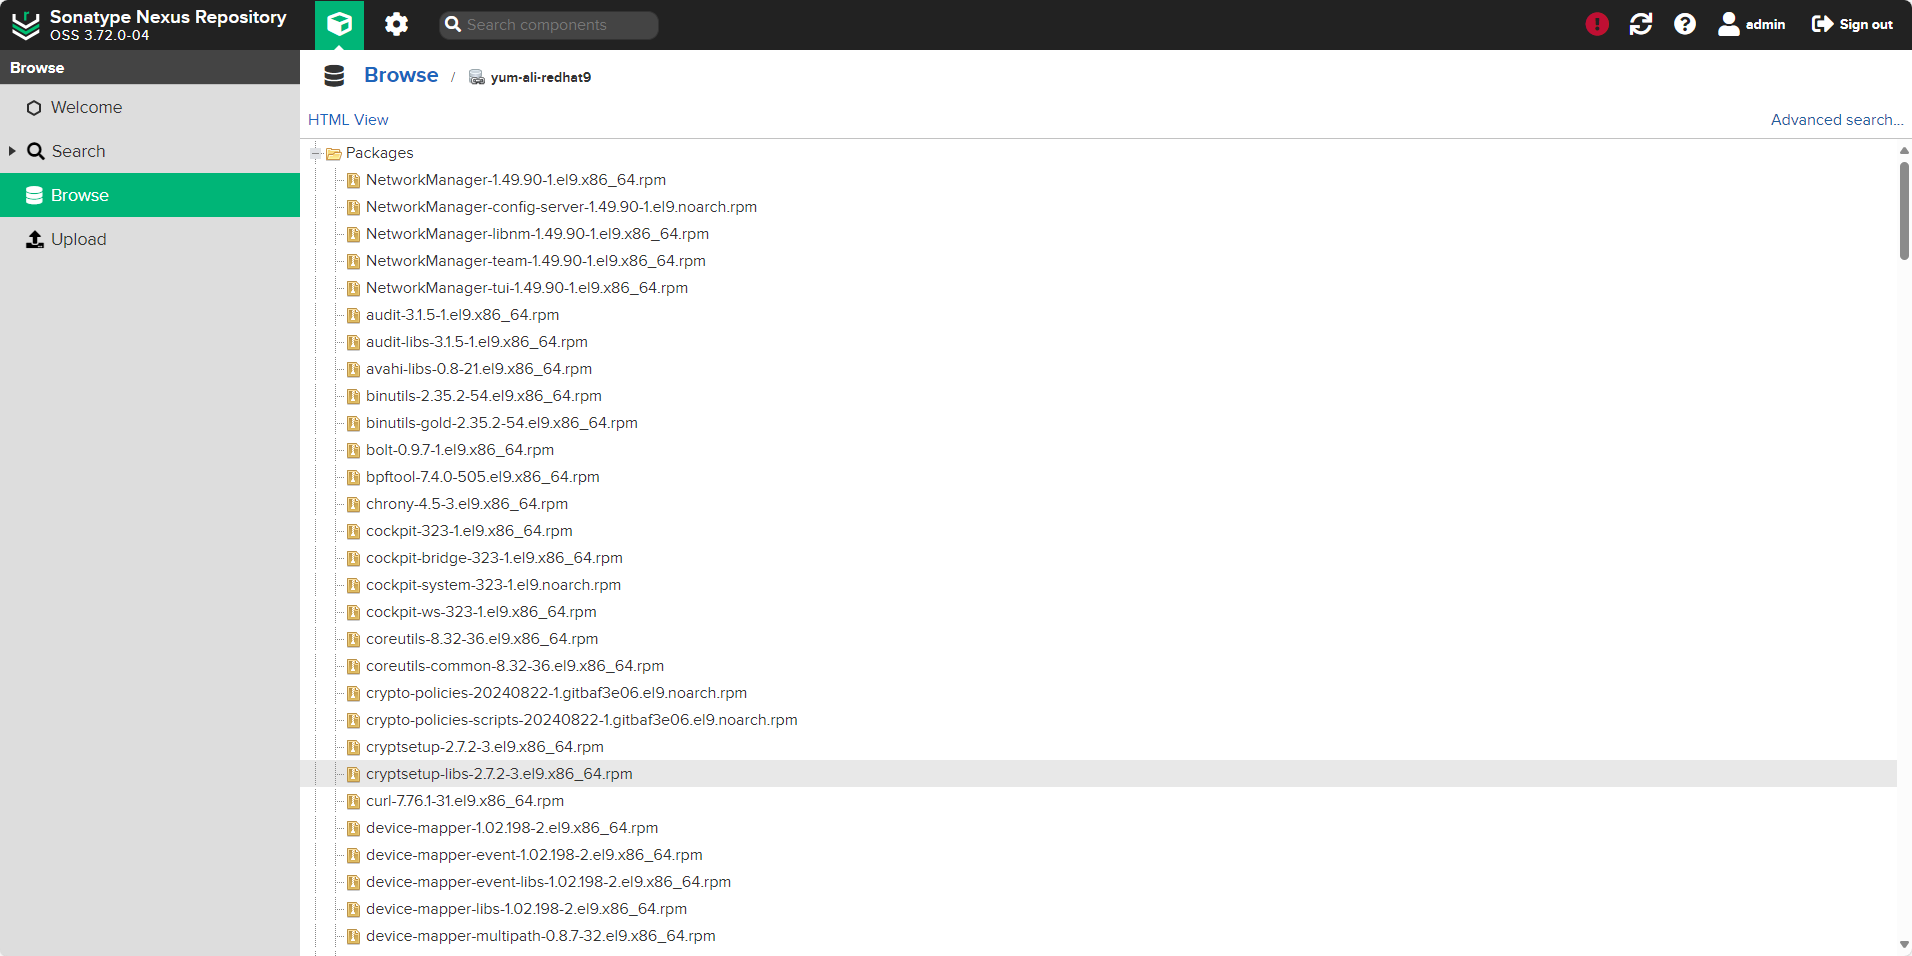
执行完update后就可以看到文件
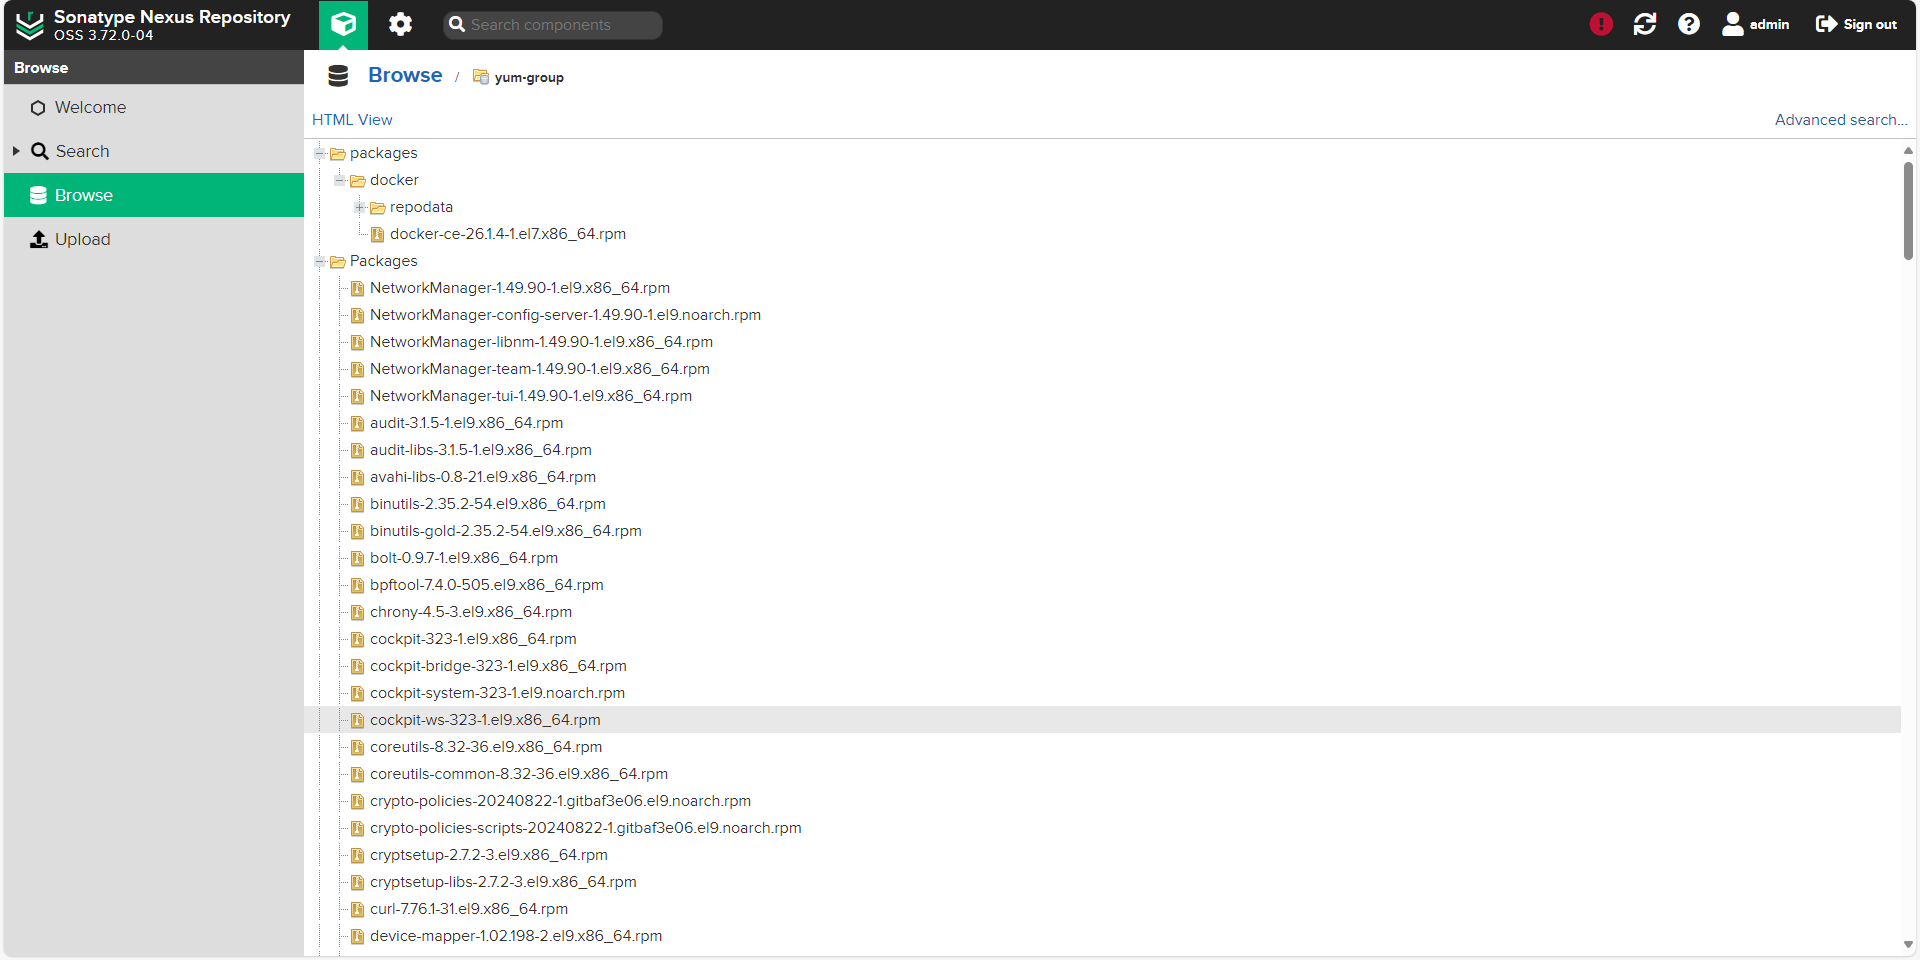
添加yum group仓库
将host和proxy都加到group里
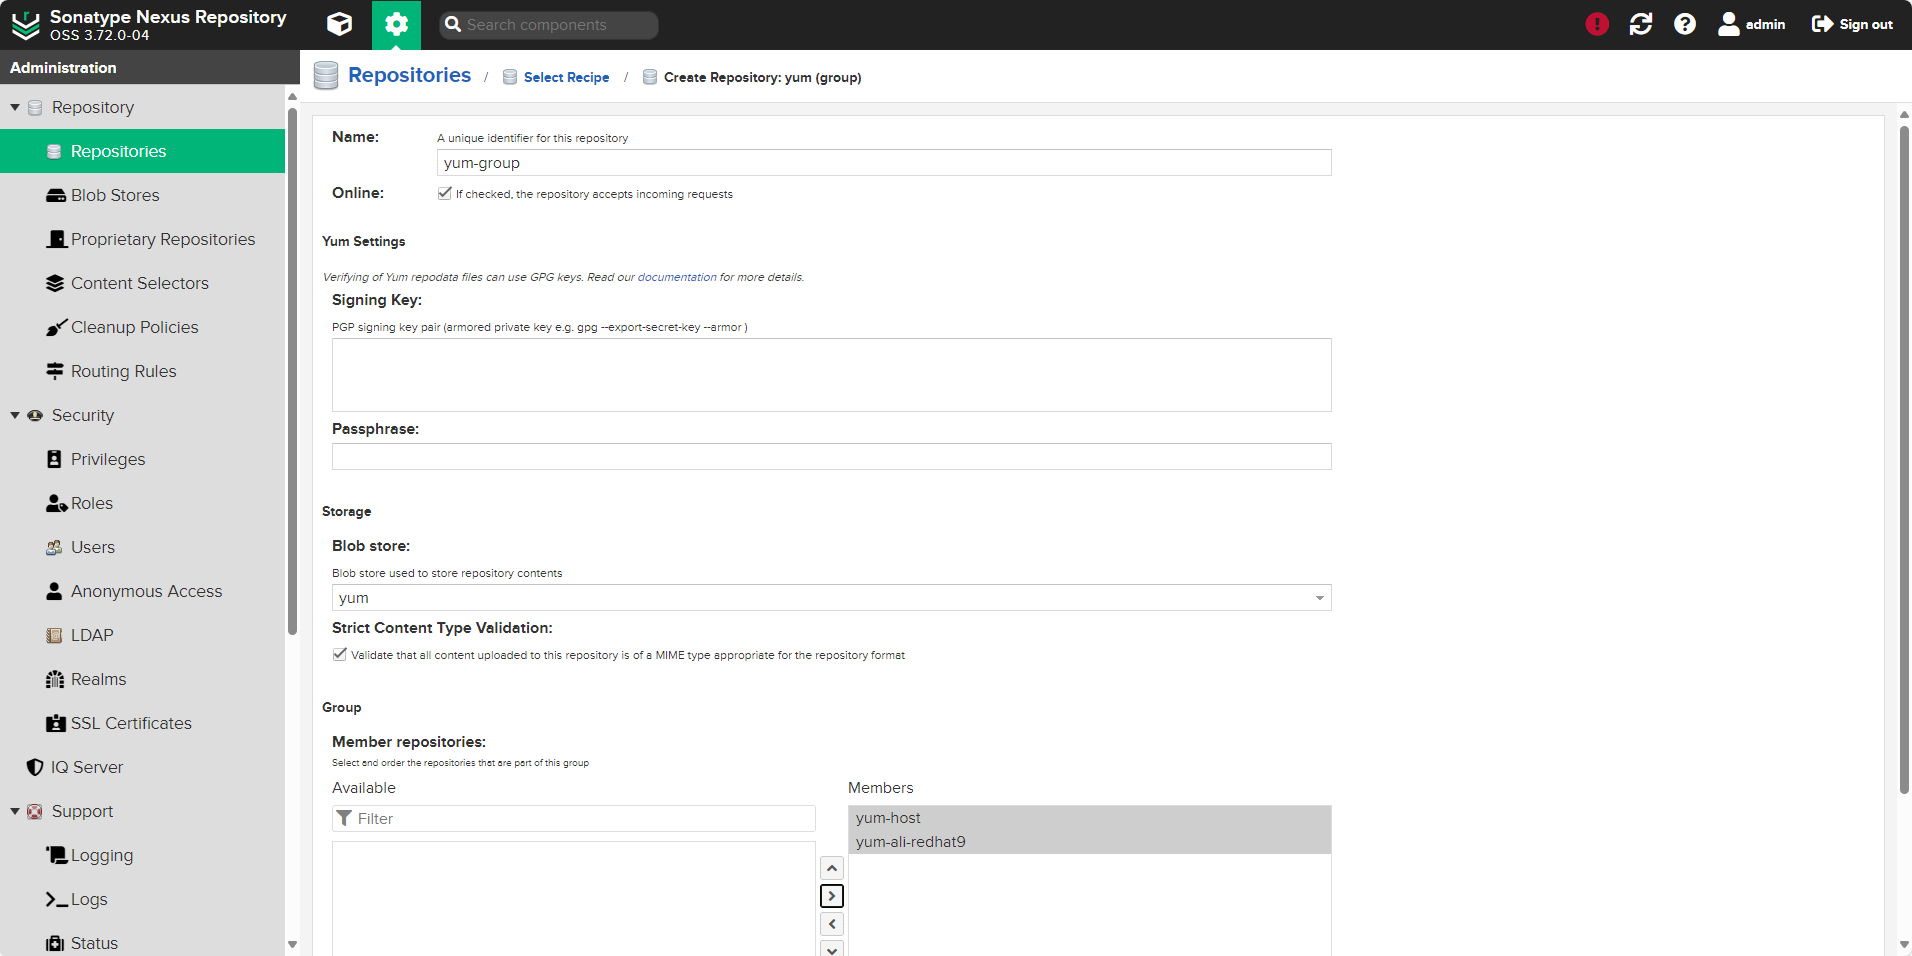
redhat9的yum源填group的地址后执行update,可以看到host和proxy的文件都会存到group里
添加apt proxy仓库
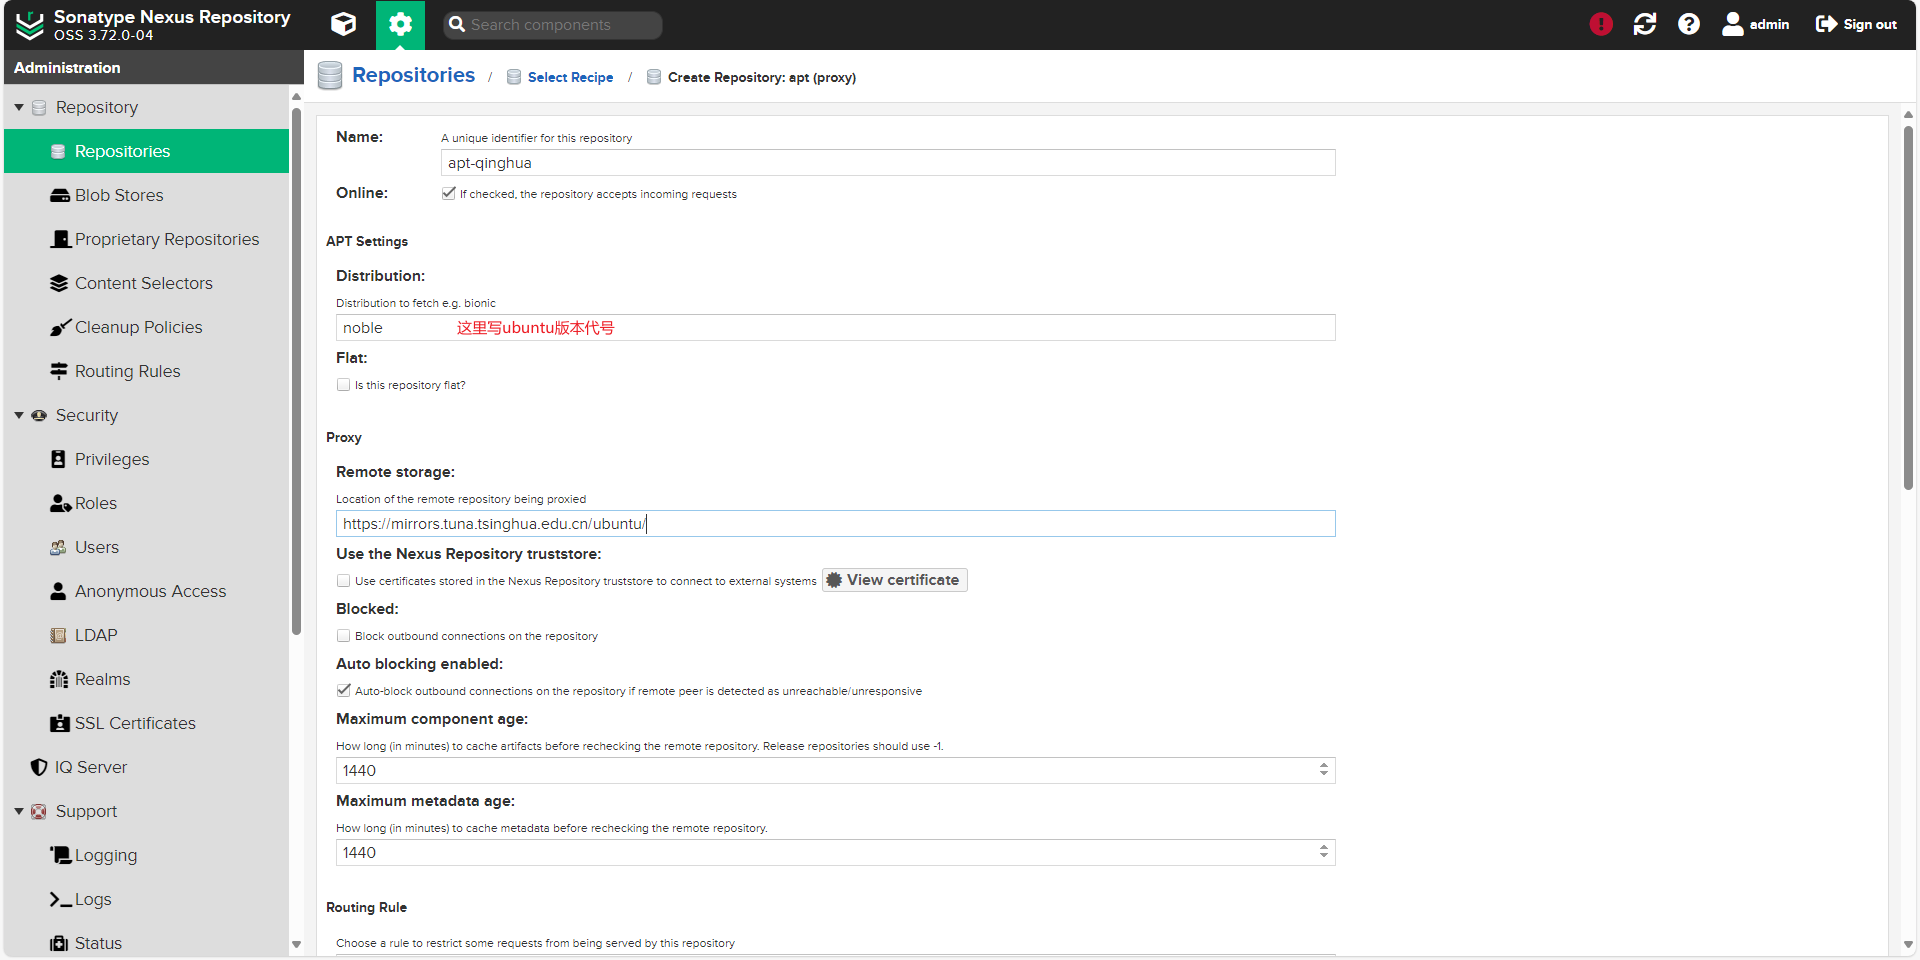
清华同方源:https://mirrors.tuna.tsinghua.edu.cn/ubuntu
链接地址可以按copy键

修改apt源
以ubuntu24.04为例
建议改之前先备份
Vi /etc/apt/sources.list.d/Ubuntu.sources
Types: deb
URIs: http://172.28.11.109:8081/repository/apt-qinghua/
Suites: noble noble-updates noble-backports
Components: main restricted universe multiverse
Signed-By: /usr/share/keyrings/ubuntu-archive-keyring.gpg

Types: deb
URIs: http://172.28.11.109:8081/repository/apt-qinghua/
Suites: noble-security
Components: main restricted universe multiverse
Signed-By: /usr/share/keyrings/ubuntu-archive-keyring.gpg
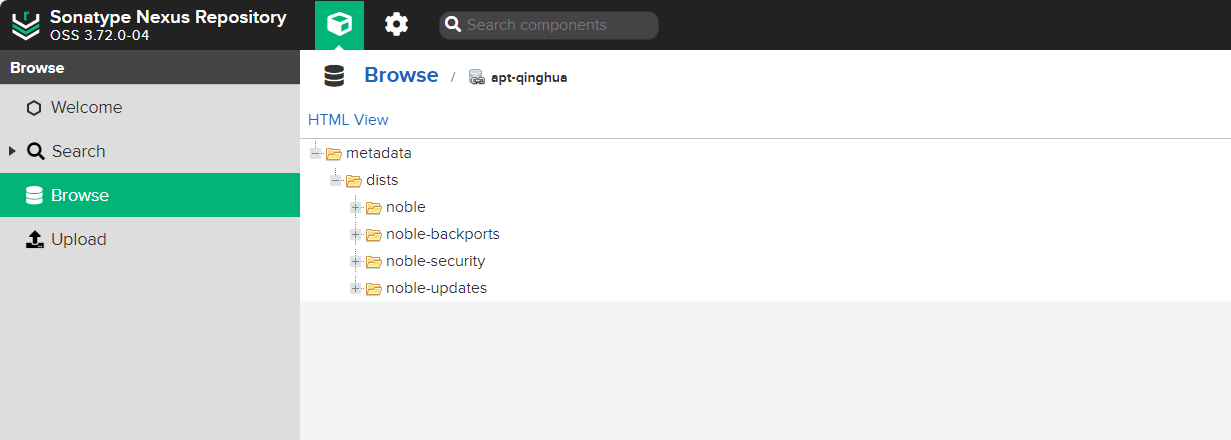
修改好后,运行apt update
执行完后可以看到上传的文件
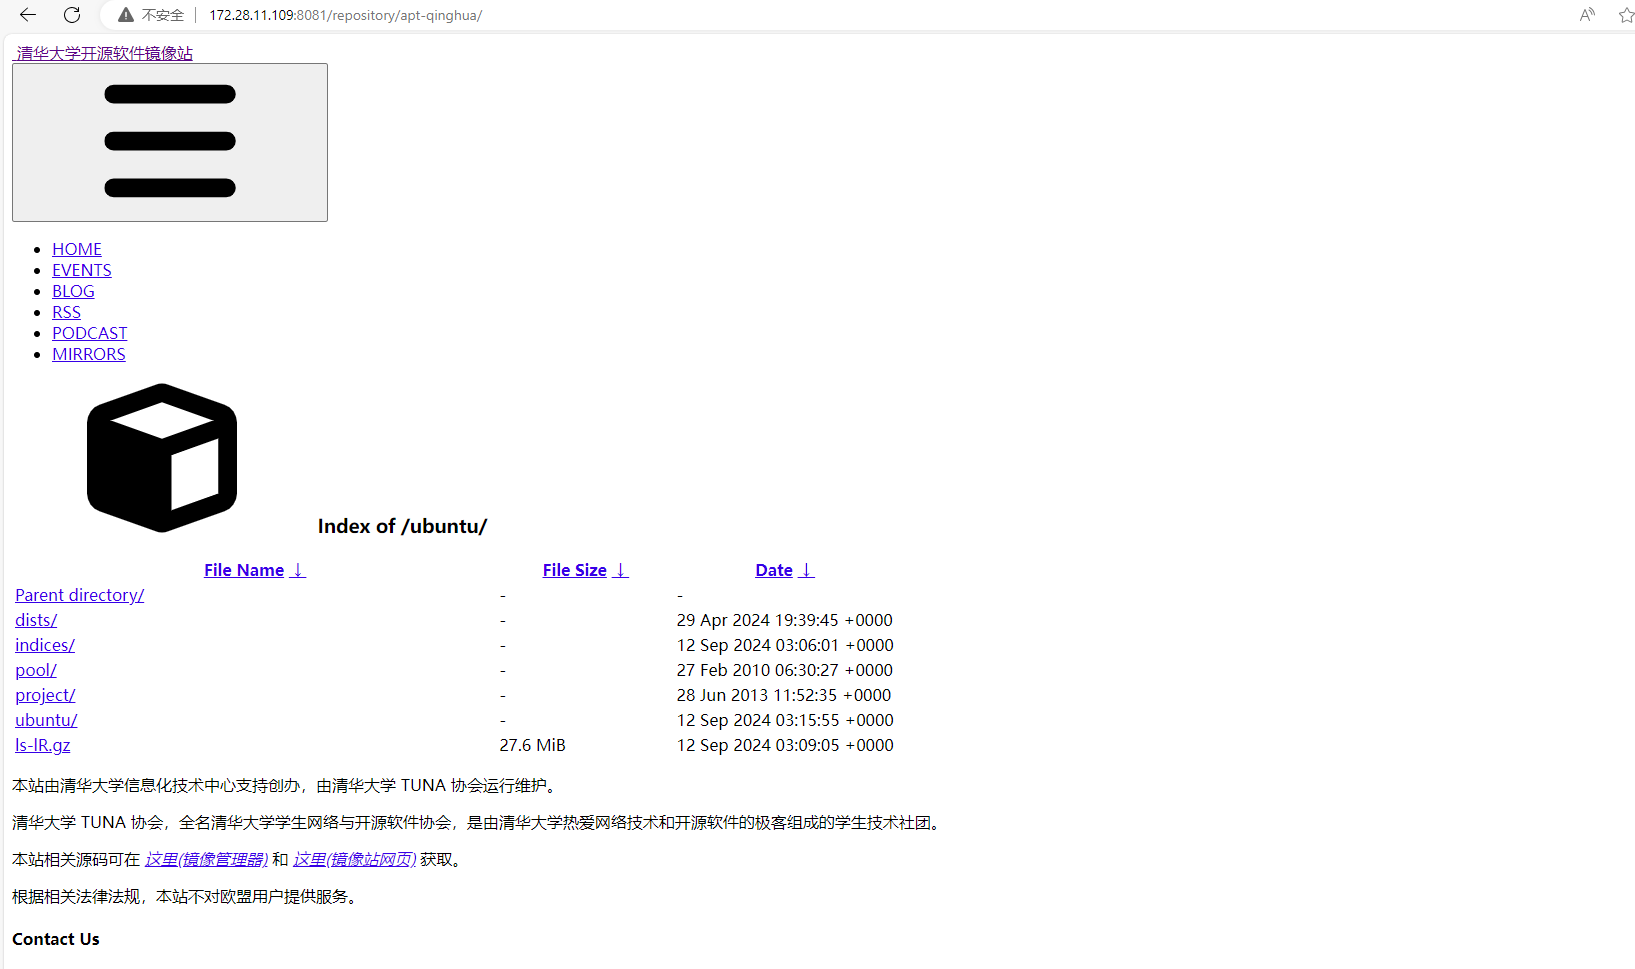
可以直接复制地址到浏览器,可以看到把清华的源给镜像了
 安装nginx
apt-cache madison nginx      //列出nginx所有源
apt install nginx
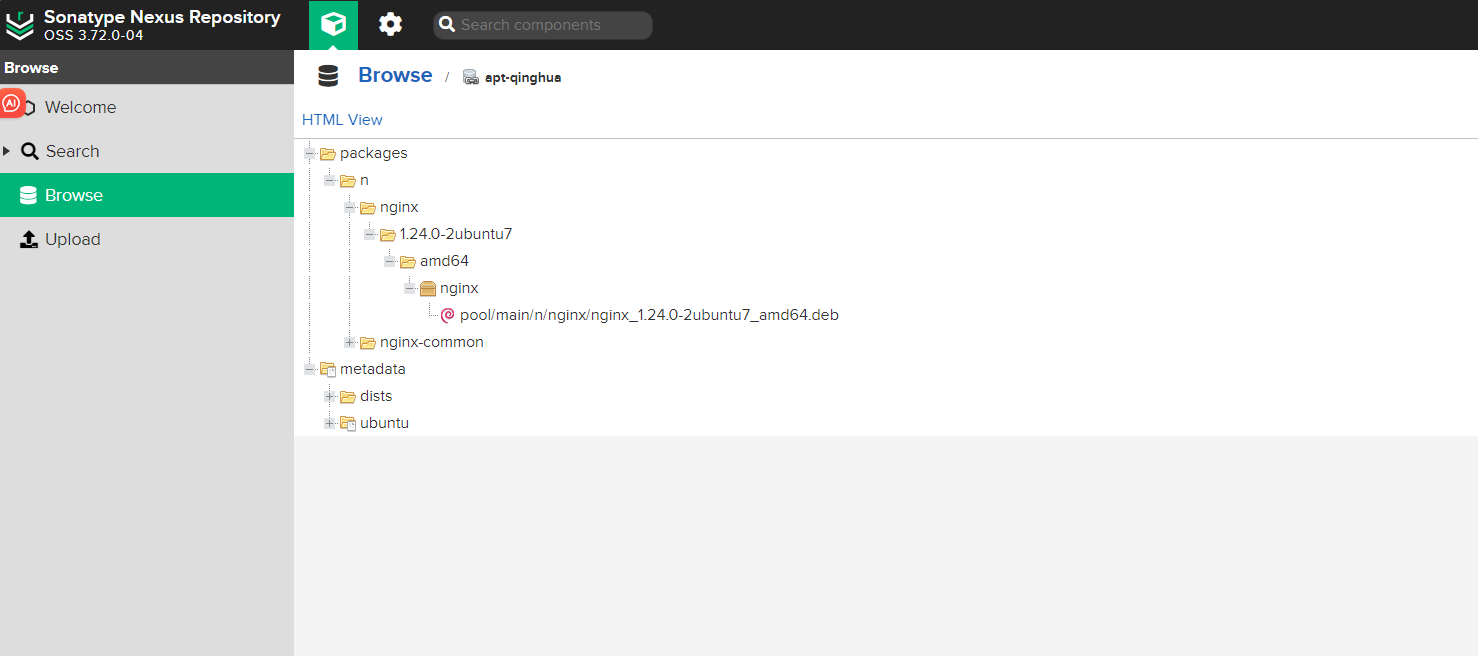
可以看到多了nginx的包,后续再装nginx后将不再从公网上拉,而是从内网的仓库拉取
添加apt host仓库
在nexus服务器上执行gpg --gen-key 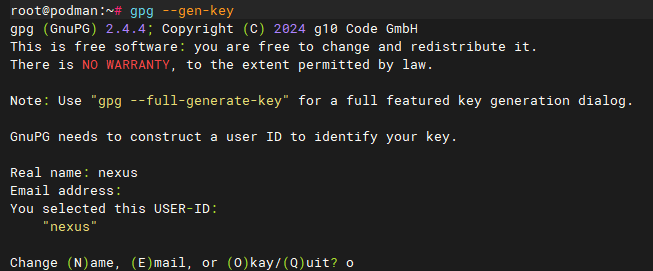
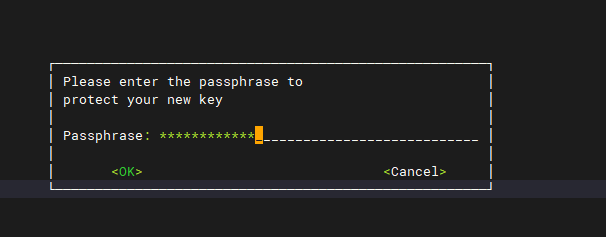
输入密码
导出公钥
gpg -a -o nexus_pub.asc --export nexus
导出私钥
gpg -a -o nexus_pri.asc --export-secret-key nexus
添加apt host仓库
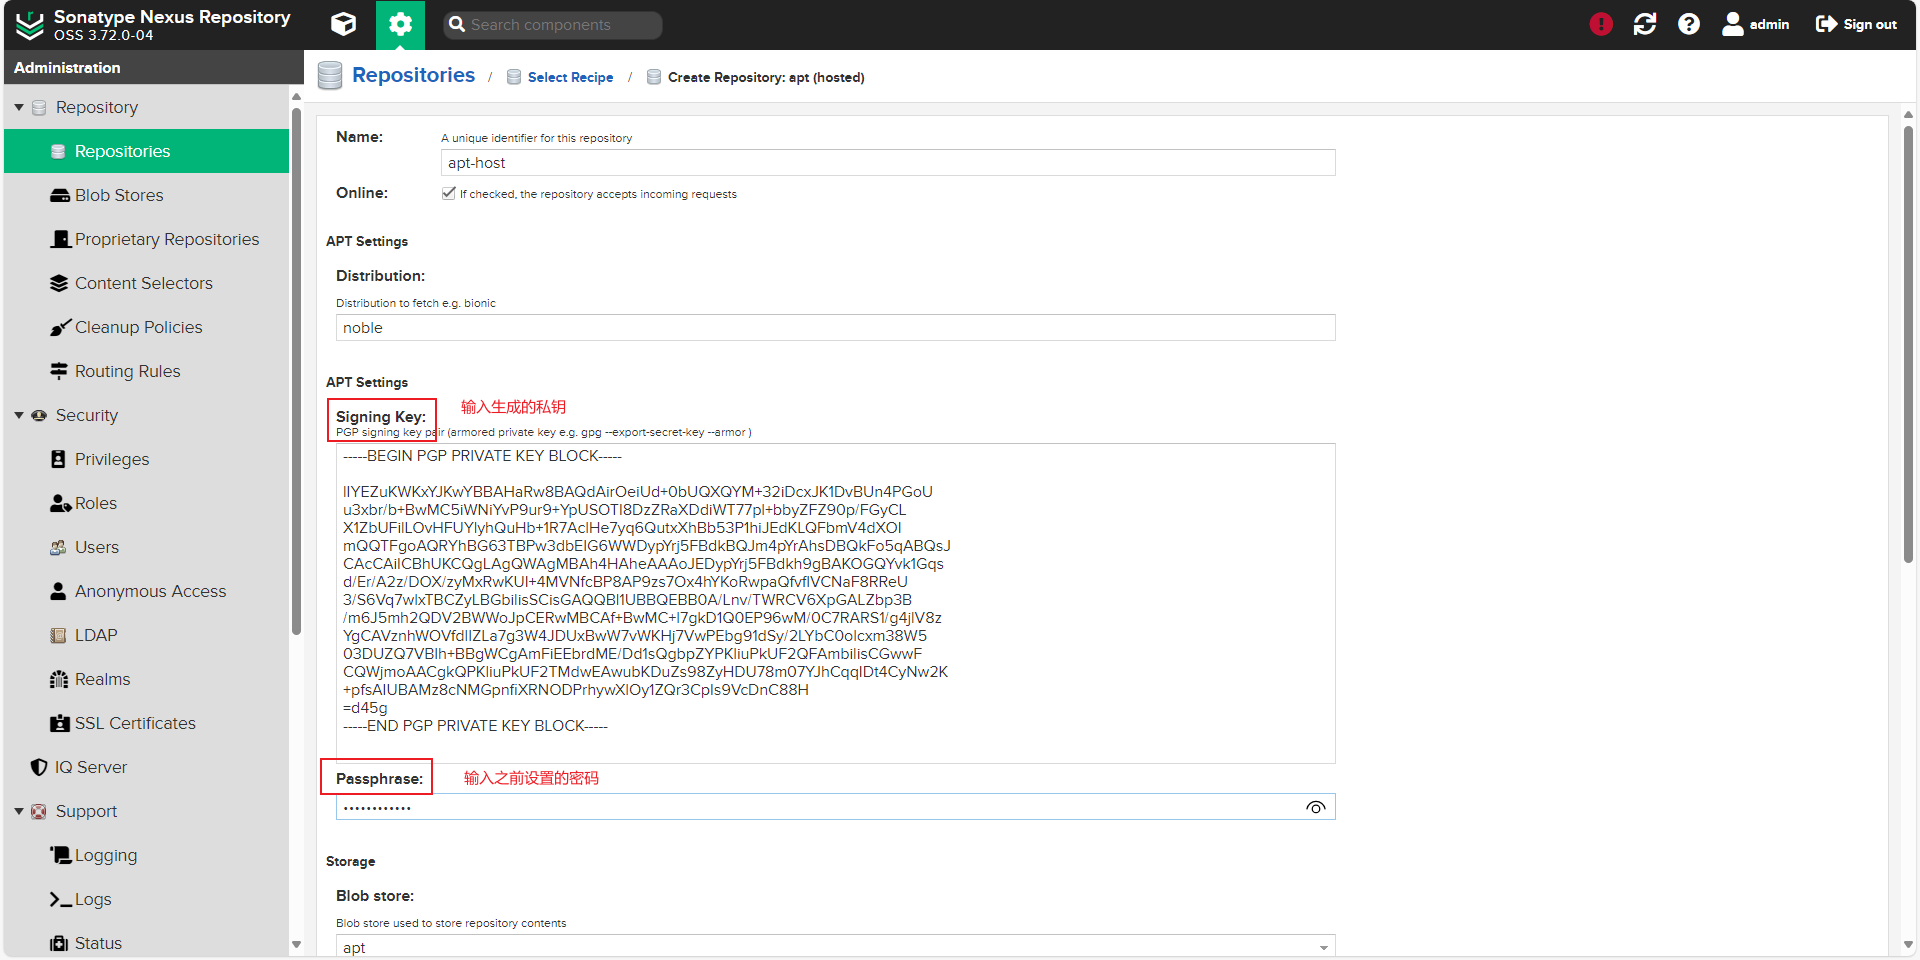
到客户端将公钥放到/etc/apt/trusted.gpg.d/目录下
ubuntu24.04这里用老版本的方式修改yum源,新版本的修改方式没有成功
vi /etc/apt/sources.list
deb [trusted=yes] http://172.28.11.109:8081/repository/apt-host/ noble main
执行apt update
改完可以安装手动上传的deb文件了
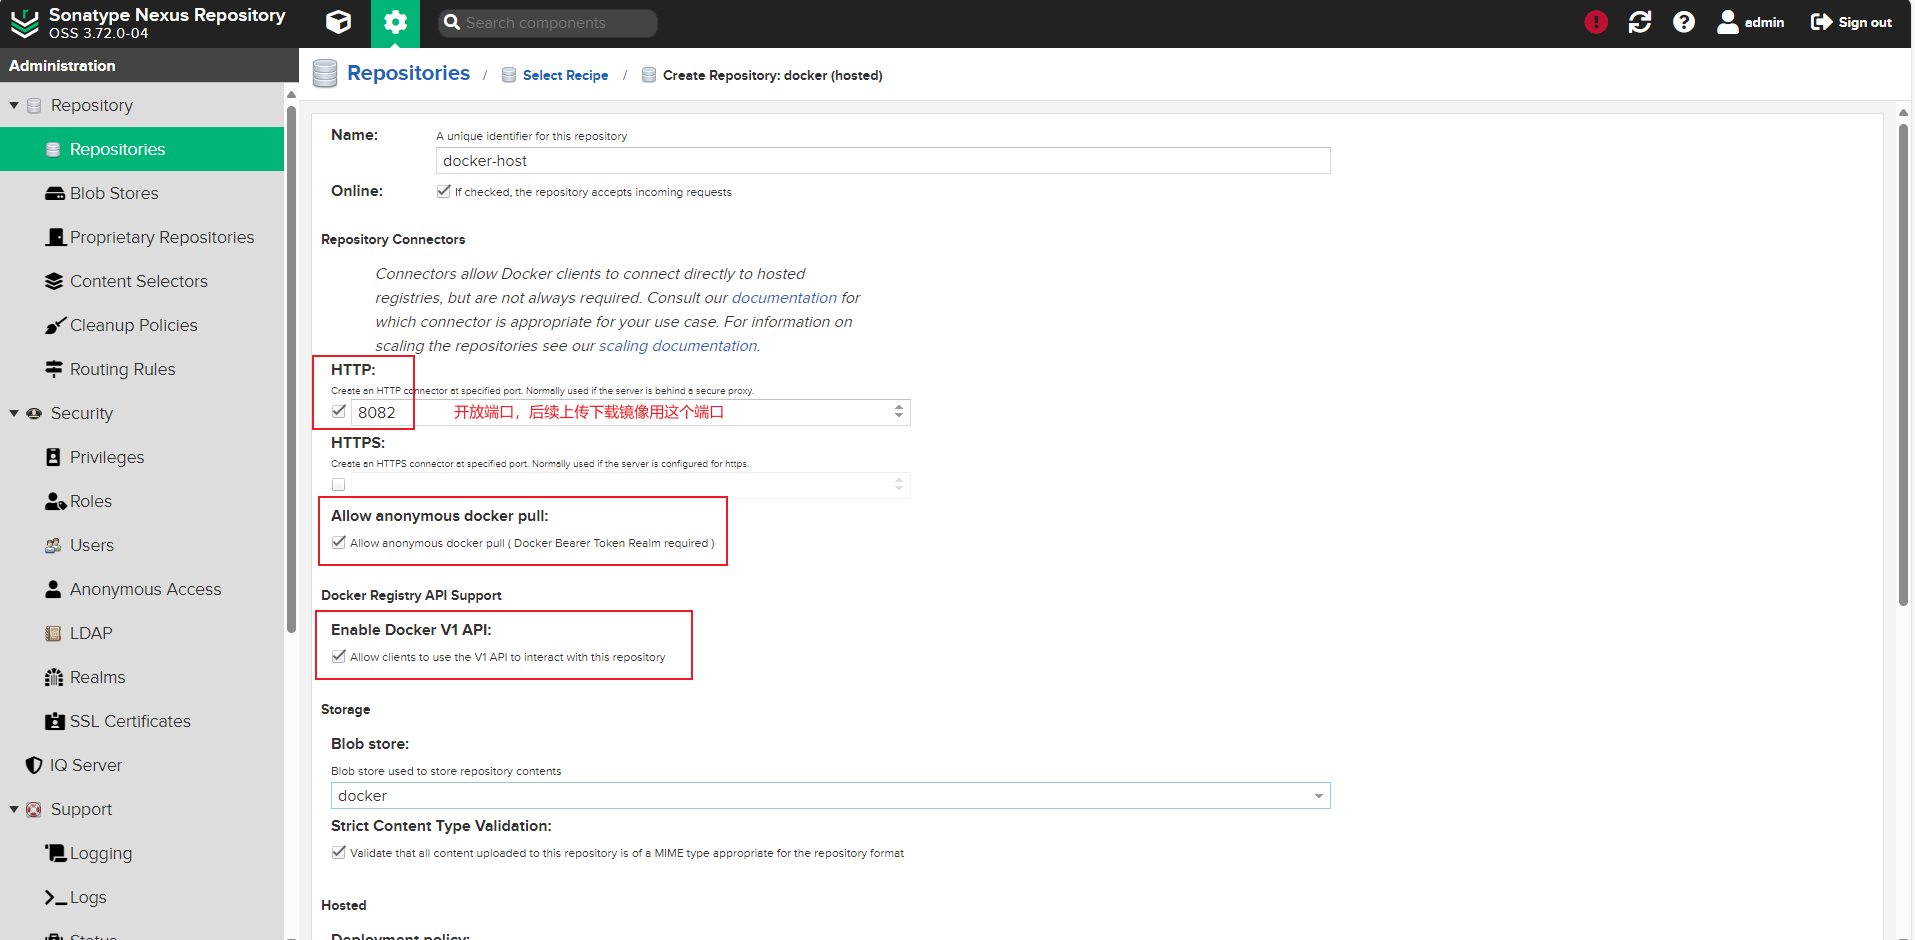
添加docker host仓库
如果是容器部署的nexus,还需要把8082端口开放
远程登录
首先编辑/etc/docker/daemon.json
填写{ "insecure-registries": ["172.28.11.109:8082"] }
systemctl daemon-reload
systemctl restart docker
这样允许login http
docker login 172.28.11.109:8082
打标签
docker tag docker.io/nginx:1.24 172.28.11.109:8082/nginx:1.22
上传镜像
docker push 172.28.11.109:8082/nginx:1.22
可以看到已经上传成功  拉取镜像
拉取镜像
docker pull 172.28.11.109:8082/nginx:1.22